An organized fridge makes us happy because it saves time figuring out what to cook and eat, saves money on wasted food, and looks beautiful too. You can finish this project in a day and having your fridge looking fab in flash!
Ready to get started? Here are the six steps to get your fridge organization project checked off your To Do list!
1. Purge
The first step in any organization project is to discard anything that has gone bad or expired, and your refrigerator is no different. Have a cooler on hand for perishable items that you want to keep as you take everything out.
2. Sort By Category
Sort the remaining items by category: dairy, veggies, fruit, leftovers, sauces, sweet condiments, savory condiments, etc. Visualizing how much space each one takes up will come in handy when choosing containers and assigning a zone.

Disclaimer: We may receive commissions when you click our links and make purchases. However, this does not impact our reviews and comparisons. We try our best to disclose the links as well as keep things fair and balanced, in order to help you make the best choice for you.
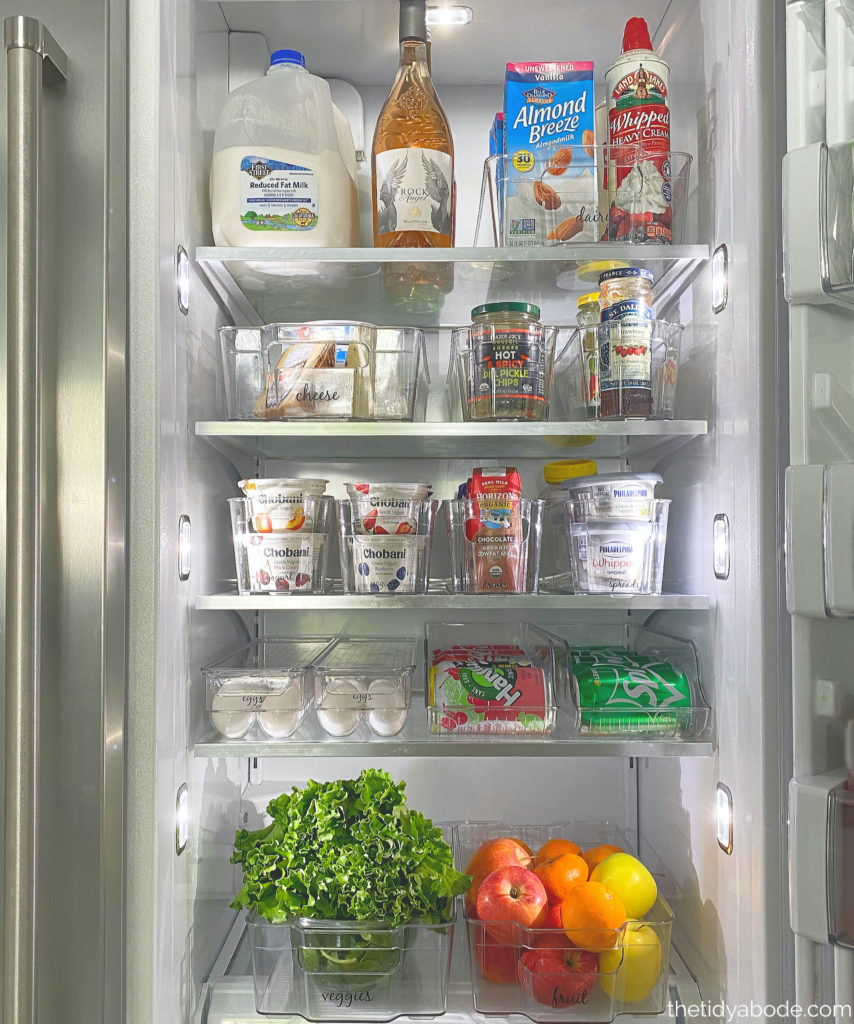
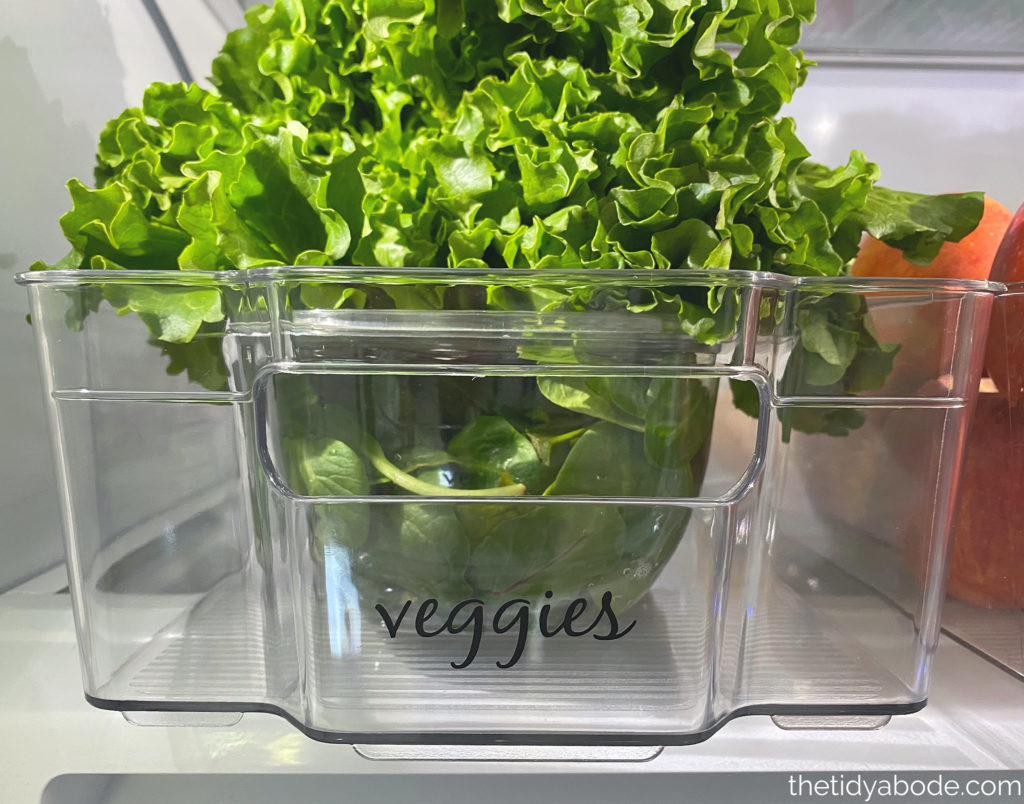
3. Choose Containers
First of all, if your shelves are adjustable, make sure you are happy with each shelf height. Clear bins with handles are popular because they are functional and let you see what’s inside at a glance. Our favorites at The Tidy Abode are these bins above.
4. Prep Your Fridge
Make sure to clean the shelves, drawers, and every nook and cranny. Crumbs and spills accumulate over time! Use a liner (or even a paper towel in a pinch) for your crisper drawers for easy clean-up. Also, we like to tuck a sheet of these produce-saving food storage wraps into each drawer.

5. Assign Zones
Assign a zone for each part of the fridge. Condiments on the door, veggies and fruit in drawers/crispers, kid-friendly snacks on lower shelves, and so on. This will make it easy to see when you run out of an item and also help you know where to put things away.
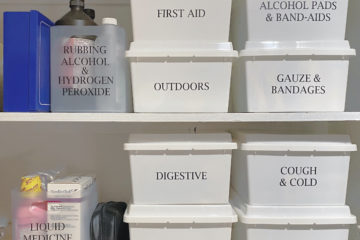
6. To Label Or Not to Label
Depending on what kind of bins you choose, you may not need to add labels. Clear containers make it easy to see what is inside, so you do not NEED to label. However, if you want to make it absolutely clear (pun!) where everything goes, label away! If you don’t want to commit right away to a label, you can use a simple dry-erase marker that wipes away easily and make more permanent labels later.
7. Maintain!
Maintaining your new fresh fridge is easy once it is organized! Before making your shopping list, take a quick look to make sure you aren’t buying duplicates and overfilling. Once something starts to run low, you will be able to see it right away. Before putting your groceries away, clean any spills and replace any liners. Remember your zones will tell you where everything belongs, so figuring out where things go will be a breeze!
With these steps, you will be able to get your space organized right away! Let us know if you have any questions and tag us on Instagram or Facebook with your finished fridges!
Happy organizing!